Team Retrogue's ROG Ally Setup Guide
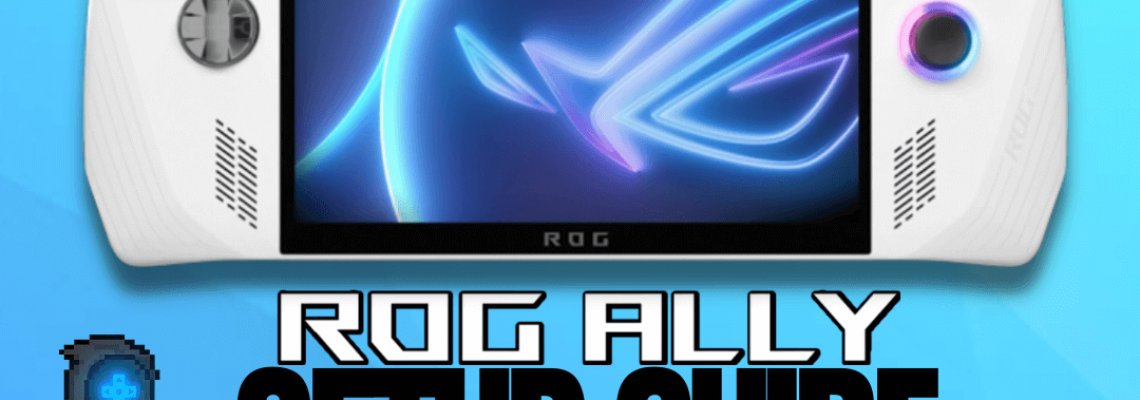
Team Retrogue's ROG Ally Setup Guide
Hooray! Mikhailov from Team Retrogue is here! If you recently bought an Asus ROG Ally or are considering doing so, you've come to the correct spot. This written tutorial will assist you in completing the initial setup so that you may start playing your games as soon as possible.
Initial Setup
Please complete the first Windows setup using the stock hard disk, even if you choose to replace it.
Additionally, I advise you to register for a local account. You can bypass the Microsoft requirement by using any password to access [email protected]. After displaying an error, you will be prompted to establish a local account. If necessary, you can additionally configure a PIN and your fingerprint to access your device.
Verify that your gadget is powered on.
The Armour Crate Software should be launched after you reach the main Windows screen, and you should update whatever it asks you to update. Next, update everything, including the BIOS, under the My Asus app's customer service section. This is particularly crucial if you intend to replace the hard disk. Your computer will restart and boot straight into the BIOS at some point throughout the upgrade process. To perform the BIOS upgrade, press "yes." You will receive instructions on not touching the ROG Ally while it operates.
OPTIONAL: Hard Drive Upgrade
You can skip this section if you are not interested in upgrading your hard disk. But if you did purchase a new hard drive and would like to learn how to replace it, the process is relatively easy. You will need to use a tiny screwdriver to remove six screws on the unit's back. The centre screw at the bottom won't come out. You may leave it loose in there. Then, open this device using a gentle pry tool, such as a guitar pick.
It should be easy from there. Remove a single screw from the hard drive and swap it out for your upgraded hard drive.
A 2230 NVMe hard drive is compatible with the ROG Ally. The Steam Deck is another location for this hard disk.
The best hard drive is suggested below.
- Sabrent Rocket 1TB – Amazon
Once you're all buttoned up again, turn the device on and hold the volume down button to access the BIOS. Press Y to enter advanced mode, then select Asus Cloud recovery. After accepting the privacy notice, you'll be prompted to connect to a wireless network to download a new copy of Windows 11, the Armory Crate, and all the presets. This process will take some time, so keep your Ally powered on while you do this.
Armoury Crate
The custom left button will take you to the Command Center, where you can change the refresh rate, resolution, AMD RSR, and even disable the embedded controller if you're playing in docked mode. The custom right button will take you to the Armoury Crate software, which you can use as a front end to load your PC games by connecting your Steam, GOG, and Epic accounts.
In the lighting section, you can choose how you want the LEDs surrounding the joysticks to appear. Since this is the only choice that allows me to have a different hue for each joystick, I utilize Aura Sync. Aura Sync will also adjust the lighting on all of your other ROG devices.
Emulation Setup Options
Using EmuDeck's early access is a simple method of setting up emulators; it does cost patronage, but it also supports ROG Ally and will instantly set up your emulators and make shortcuts in Steam using Steam Rom Manager. If you do not want these systems in your Steam library, use Emulation Station DE as a frontend.
However, you don't intend to emulate any high-end systems and prefer a far more straightforward plug-and-play procedure. The Steam version of Retroarch is a very feasible choice in that scenario. Retroarch will load from the Armoury Crate program, allowing you to play your games and load emulation cores with little setup. If you select this option, Russ from Retro Game Corps has created a Retroarch setup video, which may be found below.
And lastly, Playnite. Although Joey from Joey's Retro Handhelds has used this front end, I haven't. He has a fantastic setup video that explains how to get Playnite up and running on the Ally.
For now, goodbye, and keep believing till the next time!


