EmuDeck for Android: Revolutionizing Retro Gaming on Mobile Devices
EmuDeck for Android: Revolutionizing Retro Gaming on Mobile Devices
It's pretty simple to respond when someone asks me what I do with a new handheld. After verifying that the handheld has been updated, I installed a few utilities.
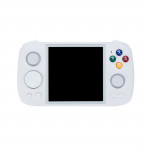
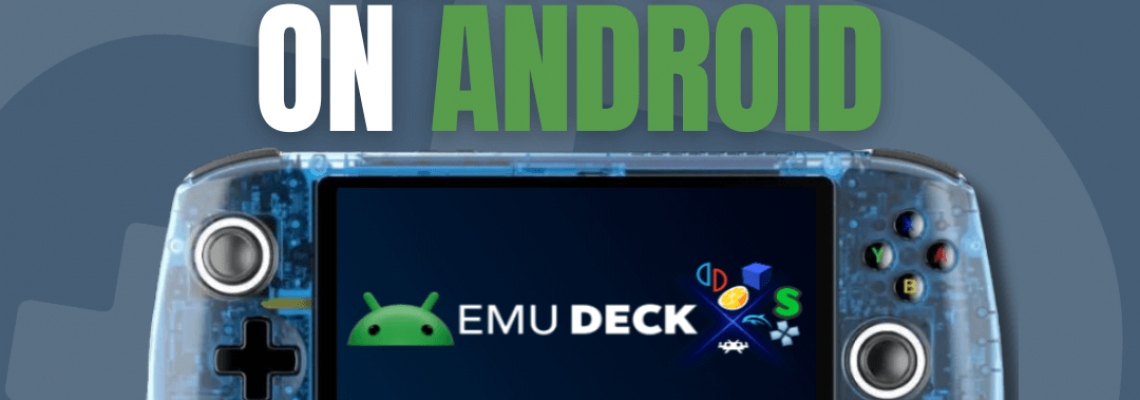
This includes EmuDeck, of course, when it comes to a Windows-based portable or something similar to the Steam Deck. Since its 2022 debut, EmuDeck has saved me countless hours of downloading and configuring emulators; now, it hopes to do the same for Android smartphones. This comprises devices such as the AYN Odin 2, Retroid Pocket 4, and the Anbernic RG556.
EmuDeck is a must-have for those unfamiliar with classic games if you want to play them while on the go. As the tagline says, "It takes care of everything. " Bezels, hotkeys, performance fixes, emulator setup and installation, and more. So, I let EmuDeck handle all the heavy lifting rather than wasting time setting everything up myself.
EmuDeck for Android Makes Life Easier
Up until recently, configuring your Android phone for emulation was significantly more difficult than configuring the Steam Deck and Windows handhelds. But in an effort to make playing old games on Android less painful, EmuDeck's creator just released an "Early Access" version.
The first release only included RetroArch and the Pegasus Launcher; however, a later update included Dolphin, Citra, Yuzu, and additional apps. The setup process is undoubtedly still shaky but isn't a significant issue.
This brand-new program automates the emulator setup process for Android smartphones. Sadly, that isn't the case; it is integrated into the EmuDeck for Windows application. You'll need to enable USB Debugging and Developer Mode, standard procedures for seasoned Android users.
However, in case you're unsure about what to do, it's quite simple:
Open your Android device's Settings app.
By scrolling through them, find anything similar to "About Phone" near the bottom of the options.
Find the section labeled "Software Info."
Until a message appears, tap "Build Number" seven (7) times.
Enter the PIN or passcode for your device if required.
Next, find and select "Developer Options."
Go through the options until "USB Debugging" appears.
Toggle it on by tapping it.
Once your computer and phone are linked correctly, you must launch EmuDeck, select the newly added "Android" tab, and follow the instructions. You must also carefully follow the on-screen instructions to create the appropriate folders for BIOS files, saves, save states, and ROMs.
Before using EmuDeck, I recommend backing up and erasing your current configuration. This will prevent you from dealing with duplicate files and folders later on.
You Need to Try It for Yourself
Using EmuDeck to set up your device and doing it yourself are not fundamentally different. Instead, you'll need an Android device, a Windows computer, and careful attention to the on-screen instructions. The Linux version of EmuDeck is now only compatible with Windows but will soon be modified to accommodate Android as well.
The primary distinction is that Pegasus will be a configured front-end after everything is done. However, if that's not your thing, you can always download Daijisho, Beacon, or any other front-end game launcher for Android.
Currently, you will need to register for the Patreon Early Access Tier to test out EmuDeck with Android for yourself. This will only cost you $3.50 a month, but it's well worth the money, if not more.
Those who recently purchased the Samsung Galaxy S24 Ultra or are venturing into Android handhelds like the Anbernic RG556 will undoubtedly want to test the new EmuDeck integration.


