How to Emulate the N64 Transfer Pak
How to Emulate the N64 Transfer Pak
Salutations to friends and other fans!
I'm Mikhailov from Team Retrogue, a group that enjoys vintage video games and the gadgets that play them.
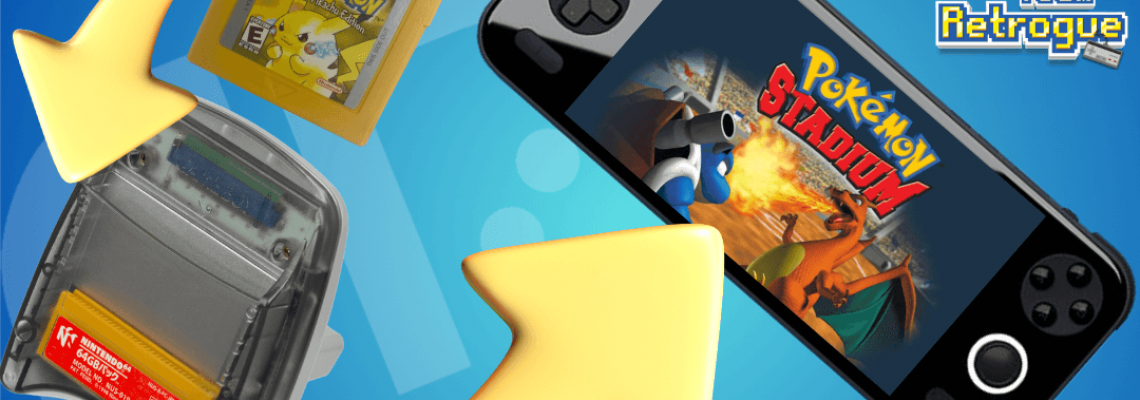
I was amazed by the N64 Transfer Pak when I was younger. This controller attachment allowed users to connect to N64 Pokémon Stadium and Pokémon Stadium 2 by plugging in their Game Boy or Game Boy Color Pokémon games.
This made it possible to play Pokémon games on your Game Boy on a large screen and also allowed you to engage in full 3D combat with the computer or your friends. You could still battle with rented Pokémon if you didn't have the Game Boy games. There aren't many ways to replicate this childhood experience using contemporary technology in 2024.
Nintendo Switch Online
The Switch Online Expansion Pack is available for subscription on the Nintendo Switch. After that, Nintendo will make the Pokémon Stadium games available to subscribers through several N64 games. You will have the privilege if you pay the $50 annual subscription. However, at this time, Pokémon cannot be imported into this game. Therefore, it is only available for rentals. That is not what anyone wants. We have vintage handhelds, and we want to utilize our poke! Consequently, let's do this correctly!
DISCLAIMER!
The Pokémon Stadium games will not allow you to use the GB Tower feature. Attempting to do so will result in an error and need you to restart the game. Fortunately, you can still play the original Game Boy games in RetroArch using the appropriate Game Boy cores.
How to Emulate the N64 Transfer Pak in RetroArch
File Setup
Three distinct files are required to successfully link an emulated Game Boy game to an emulated N64 game using the Mupen64Plus-Next core:
- A ROM of Pokémon Stadium or Pokémon Stadium 2 in z64 format
- A ROM of a compatible game (Pokémon Red, Pokémon Gold, etc. This MUST be extracted. It cannot be a .zip)
- A save of the Game Boy game in .sav format (This is Important! If your save is in .srm, make a copy and rename it as a .sav)
Some of these files must be renamed, and all these saves must be in the same folder. For convenience, I stored these files in my SD card's N64 folder. We'll utilize the original Pokémon Stadium as an example. Furthermore, Pokémon Stadium 2 can be used with these instructions.
- Change the name of the N64 ROM to "Pokémon Stadium.z64"
- Change the name of the Game Boy save file to "Pokémon Stadium.z64.sav"
- Change the name of the Game Boy ROM file to" Pokémon Stadium.z64.gb"
Emulator Setup
Open RetroArch and use the Mupen64Plus-Next GLES3 Core to load the Pokémon Stadium ROM. Next, use whatever hotkey you have configured to launch the RetroArch menu while the Pokémon Stadium game runs. To virtually "plug in" the transfer pak, we must go to Core Options –> Pak/Controller Options –> Player 1 Pak in the quick menu. Select "transfer" for this. It's time to save the file and connect the N64 ROM to the GB ROM.
- Go to Quick Menu –> Close Content to end the active N64 game.
- Go to Load Core from the Main Menu. The Mupen64Plus-Next GLES3 Core must be loaded.
- Go to Subsystems –> Load N64 Transferpak in the Main Menu.
- Go to the location of the files you previously renamed.
- Choose the file with the new name (in this case, Pokémon Stadium.z64.sav).
- Go to Subsystems –> Load N64 Transferpak once more. The folder you previously clicked on should still be where you are. Choose the GB ROM, such as Pokémon Stadium.z64.gb.
- Go to Subsytems—> Load N64 Transferpak once more. This time, choose the N64 ROM (in this case, Pokémon Stadium.z64).
- Go to Subsystems one last time. The "Start N64 Transferpak" option is new. Below is a list of the three files you chose in previous steps.
Your Game Boy save will appear in the main menu's "Game Pak Check" section when the game launches. After that, you can begin fighting by loading up your Pokémon!
RetroArch should automatically detect the transfer pak and load your Game Boy save when you restart your game.
Android via M64Plus FZ Standalone Emulator
The N64 Transfer Pak is much easier to set up with M64Plus FZ if you're on Android. It's not even necessary to rename any files. You won't need to keep your saves apart because this emulator will also operate with.srm files. This is a better experience if you play your old-school games on an Android device.
Emulator Settings
- Choose Pokémon Stadium or Pokémon Stadium 2 to begin. There will be a menu. Don't join the game just yet.
- To access "Settings," scroll down the side menu.
- (OPTIONAL) Go to "Emulation Profile" and select "GlideN64-Very-Accurate" if your device can handle it. Performance will suffer as a result, but any graphical bugs you might see in the game will be lessened or eliminated.
- Return to the settings menu, then choose "Controller."
- Select "Transfer Pak" for Player 1 after scrolling down to "Controller Paks."
- Scroll down a bit further to set the location of your Game Boy game to "Player 1 Gameboy ROM."
- "Player 1 Gameboy RAM" is located beneath "Player 1 Gameboy ROM." Set this to the.srm or.sav file for your Game Boy game.
You have to launch the game! After your Game Boy ROM and save files are detected, you can play the game.
Lastly, go to settings in Pokémon Stadium or Pokémon Stadium 2 and set voice to "off." Later, you'll thank me.
