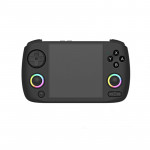
Miyoo Mini Plus Button Replacement Guide
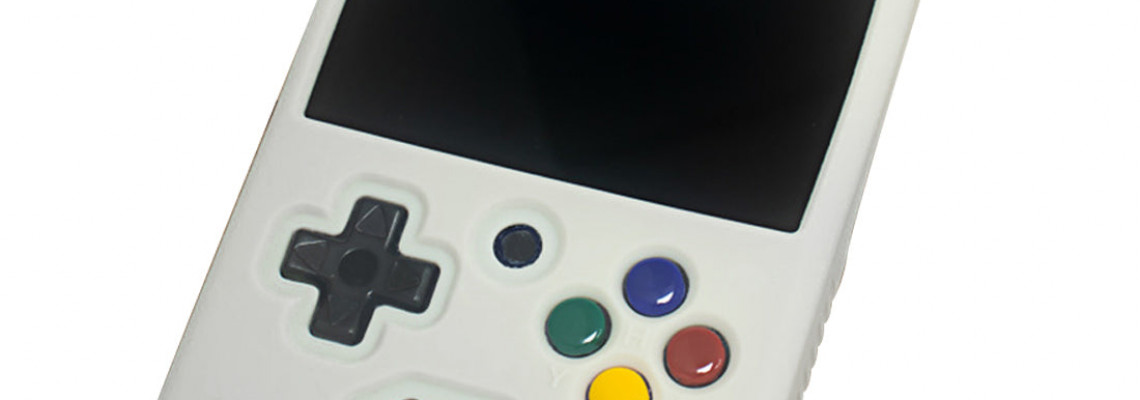
Miyoo Mini Plus Button Replacement Guide
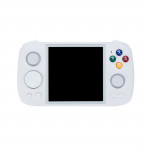
The community has always supported the Miyoo Mini and RG35XX, offering customizable buttons, skins, and custom firmware. When I bought the Miyoo Mini Plus, I ordered a front skin and some pastel buttons from Sakura Retro Modding to personalize my new gadget. If you want to do the same, a brief tutorial on disassembling the gadget and swapping out the buttons is provided below.
Step 1: Getting Everything Ready
I took the SD card out of my handset first; I'm unsure how necessary this is. Then, with the screen upside down on my desk, I placed a soft surface on which it might rest. There are six screws total—four on the device's back and two more beneath the battery. For them, a Phillips 00 is required. Ensure you have a screwdriver long enough to reach the holes on the bottom two.
Step 2: Take Out the Battery
If you pull the cord away from the connector, the battery should come out easily. After removing the battery, set it aside.
Step 3: Disconnecting Cables
Find the connector and screen ribbon cable on the left side of the motherboard. Slide the cable out by lifting the black portion of the ribbon cable connector. The motherboard can now be safely removed from its shell and set aside.
The power and volume buttons could come loose, so be cautious. If they do, replacing them during the reassembling process will be simple.
Step 4: Remove and Replace
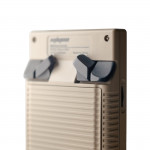
To replace the buttons, remove the rubber membrane protecting them. To remove the buttons and insert your new buttons, push from the other side of the buttons. Raise the buttons to make sure they look how you want them to.
Step 5: Putting It Back Together
It's time to reassemble everything! There are a few things to remember, but you are simply following the processes in reverse. When reinstalling the ribbon cable, ensure it is positioned above the motherboard and clamped back into the connector.
Additionally, the motherboard may be difficult to put back into the shell, but you should succeed with patience and persistence. Watch out for the volume and power buttons since they may come loose. If you keep these things in mind, you should have a stylish, personalized Miyoo Mini Plus!
Do you need a Miyoo to mod? Begin here. Next, pick up a screen sticker and some buttons from Sakura Retro Modding on Etsy.


