Steam Deck OLED: Fix Your Stick Drift
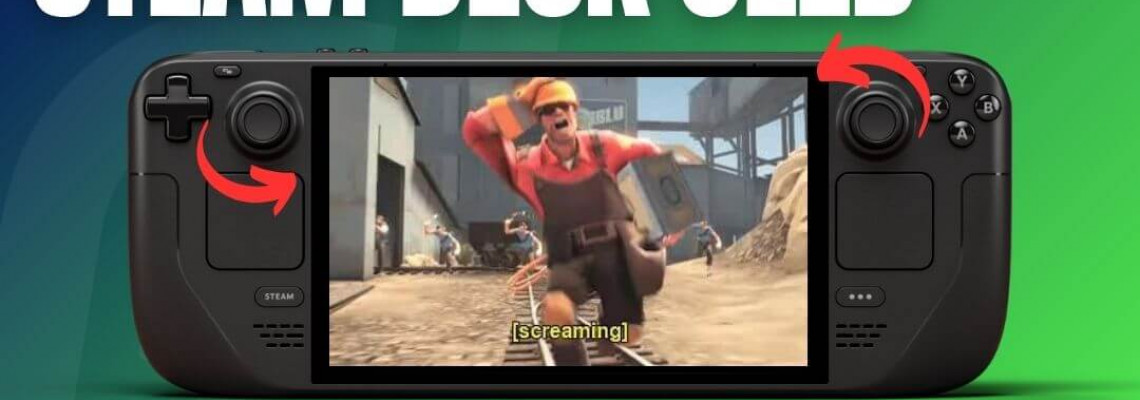
Steam Deck OLED: Fix Your Stick Drift
What makes a good gamer? You're probably currently debating whether or not to get the RG Cube, or you're frantically searching through ASUS Ally X reviews, thinking, "ASUS? more like A-SUS." On the other hand, I play video games, if you're like me. And where better than your Steam Deck OLED from Valve to play those? (Even if it was only the vent smelling slightly tart, who would RMA your Steam Deck?)
Despite the shade, I adore my SDOLED so much that I post the worst review and reread it anytime I feel down. We now have hall sticks for this fluff made by our closest friends at Gulikit, who created a solderless, internally calibratable drop-in hall stick you can use for gaming. It's the year of our Lord Gaben 2024. You clicked after reading the title. Do you need these now?
You Don't Need These
I am expressing my ideas before you commit to a guide on their installation, so skip this section if you don't care about one nerd's perspective. Let this serve as a warning or as wise counsel from someone who has partially damaged their shell and stripped screws: These are not necessary. Valve did much research and development to improve the long-lasting and pleasant-feeling Alps-based analog stick components, which also house the L&R bumpers.
These assemblies have excellent quality control, and unless you are using them to simulate Super Smash Bros. and play it for six hours every day—in which case I would advise you to take a shower—you shouldn't be having drifting sticks if you were even an early adopter of OLED, like me. Additionally, the manufacturer's warranty still applies to all OLEDs currently on the market. A decent one. Please send it in and let a professional who gets paid too little to do it. You don't need them, in my opinion, even if you want to avoid drift in the future. This mod may seriously harm your deck's exterior, making it never the same once you open it.
Even following treatment.
Furthermore, the sticks and grips included with the set are subpar. Soldering is necessary to replace those with your delightfully orange ones from the special edition model because they don't hold very well at all. However, if, like me, you purchase them out of pure curiosity and a desire to mutilate your technology to establish your ownership, here you have it.
Installation
To get ready, you'll need:
- Ten to thirty minutes. (Optional patience)
- A screwdriver fitted with your preferred T6 screw bit (keep it a secret from the others to avoid jealousy)
- Something to place your deck's face on (your case will work, but in my case, I stole the nice kitchen towels from my fiancé).
- Two Hall sticks, of course
- A pry tool or guitar pick (notice that "flathead screwdriver" is not mentioned here)
- (Selective) iron soldering. Those caps (optional) F*@# Additional screws. OEM screws are incredibly easy to remove, and if you do so, it is completely your problem, and you shouldn't be attacked online for it. (Sorry.)
Step 1
Put your deck down and take out all the screws. Not only the sides but also the middle and corners. I unscrewed them like screws, which they are. I took them off.
Step 2
Pull up the back (either side) while carefully inserting a pry tool between the trigger and navigating around by raising the top by the power button. Use a card or something to mark your place after an area has appeared. I employed my large, meaty claws in this instance.
The rest is simple once you get going, but it's even simpler if you don't damage your deck.
Step 3
Three screws with the same T6 bit are seen on each analog stick unit after the rear is removed. You are aware of what has to be done. Make sure to remove these from the back screws because they are of a different size. Remember to include the ribbon cable.
You'll need to be careful around the right trigger when you lift the sticks out and slide the new ones in. Moving the analog stick as necessary to remove and install the new one will make this process easier for you. Remember to bring the ribbon cable.
Step 3.5
If you wish to maintain your awesome and unique orange sticks, you must desolder one wire and solder it to the exact location on the GuliKit stick. It's pretty simple, and if you're stupid enough to pry open your SD, you're also foolish enough to replace it on your new assembly with half-hazard melting metal.
Step 4
AVOID CLOSING IT UP. Ahhh. Because hardware is where stick calibration begins. The trick is to keep your sanity intact while executing this terrible section. Remove the back, navigate to your first stick under settings/controller/calibration, and test the dead zone. Your brand-new, non-draftable hall sticks will start to float.
Take these actions:
- Find and press the little button on the rear of your Hall Stick assembly. Your 0,0 point will be reset. It's easy enough.
- Press the button while on the dead zone test screen to check if it travels to 0,0. If not...
- If the dot travels to the upper left, move it down to the right to compensate for it. Hold your stick in a position counter to where your 0,0 point is showing.
- Do this twice, and do it correctly.
Step 5
Recalibrate it. Just do it. Launch Konsole in Desktop Mode. Enter "thumbstick_cal" and adhere to the instructions. Your hall sticks will no longer float out of the box after this.
Step 6
Try out a game.
Step 7
Shut down your Steam Deck—screws on, back on. I wish you a happy day and remind you that you are loved and appreciated, even if you have probably stopped reading this through a valve. Call them and ask them to fix it, even if your analog sticks are drifting. Or don't. They said they are glad to have your business. We at Retro Handhelds are too! Thank you for reading, and please forward this to a friend experiencing a difficult day.
Step 8
Avoid purchasing the Ally X.

