muOS Setup Guide for Anbernic Handhelds
muOS Setup Guide for Anbernic Handhelds
Even if you can purchase a new handheld, load up some games, and begin playing, you may occasionally encounter problems. Although some businesses are dedicated to implementing updates and new features for custom firmware, there are still certain things to be cautious about.
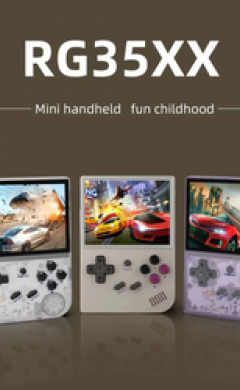
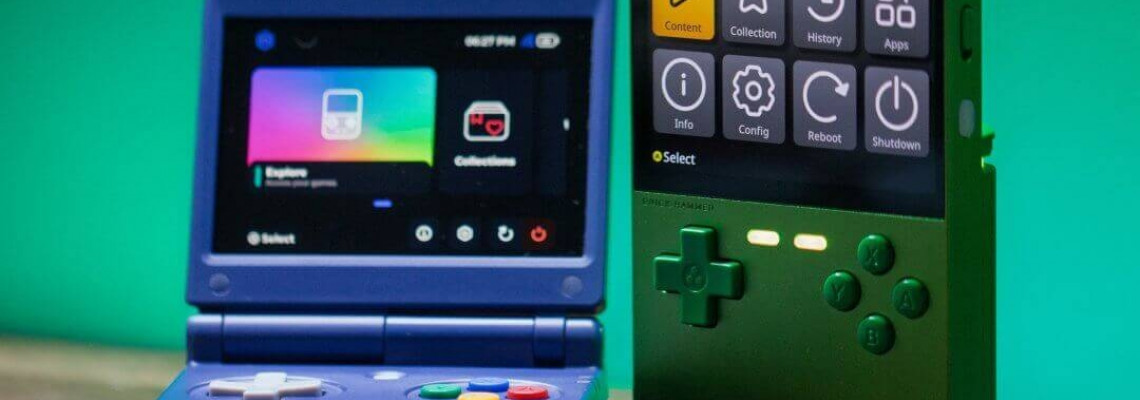
Since we offer custom firmware solutions for many of the top retro handhelds, this is the opportunity for the community to show off its prowess. Try muOS if you have an Anbernic handheld, such as the RG35XX SP. This is among the most excellent custom firmware solutions we have yet to see, and it keeps improving.
muOS Supported Devices
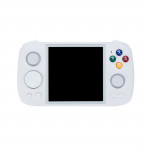
Before you begin, note that not all retro handhelds are compatible with muOS. It was designed explicitly with Anbernic devices in mind instead. Even if the original RG35XX 2023 is the only one on the list without the Allwinner H700 chip, you can still install and configure muOS on it.
- Anbernic RG35XX SP
- RG35XX Plus
- RG35XX H
- RG35XX 2024
- RG28XX
- RG35XX 2023
How to Install muOS
You've decided to install muOS on your RG-X handheld and would like to follow the setup instructions. Before proceeding, we must advise you not to use the microSD card included with your mobile device. This rule is only broken if you receive a card bearing the "KIOXIA" brand. You shouldn't wake up to a dead microSD card one day because those are pretty nice.
microSD Card Recommendations
- SanDisk Ultra microSD Card
- Samsung EVO Select microSD Card
- PNY Premier-X microSD Card
Steps to Install muOS
Here is the muOS setup guide for your Anbernic devices, so prepare your microSD card and handheld:
- Navigate to the muOS website from your PC.
- Choose your handheld under Release in the left-hand sidebar.
- Click the Download link under Current Release.
- Once again, click the Download link at the top.
- Download the listed muOS ZIP file.
- Extract the ZIP file after it has been downloaded.
- Connect your PC to your microSD card.
- Launch your preferred USB formatting tool. Here are some suggestions.:
- Rufus
- Win32 Disk Imager
- BalenaEtcher
- Choose the muOS Disc Image that was just retrieved to flash your microSD card.
- Once the flashing process is complete, remove the card from your computer.
- Put the card into your portable device.
- Await the completion of the boot process.
The "Device Type" page will appear when muOS has completed booting for the first time. From the list, pick your device. Next, manually enter the time and date after selecting your time zone. After this is complete, disconnect your portable device and reconnect the microSD card to your computer.
Set Up Your muOS microSD Card.
When you reconnect your MicroSD card to your computer, there will likely be a minor speed hiccup. For some reason, Windows doesn't recognize the ROM partition. Instead, File Explorer creates the illusion that there are two little divisions. There is a quick and straightforward solution, so don't worry.
- After inserting your microSD card into your computer, launch Disk Management.
- Find the microSD card in the list and highlight it.
- Right-click the ROMS partition in the Disk Management bottom panel.
- Choose Change Drive Paths and Letter.
- Press the "Add..." button.
- Verify that the drive letter that follows is chosen for the assignment.
- To the right, click the drop-down box.
- Decide which drive letter you wish to use.
- Press the OK button.
Now that you can access the ROMS sector, you can move your games to the microSD card.
Add Games and BIOS Files to muOS
In contrast to many other custom firmware alternatives available, muOS does not impose stringent rules on you. You need to arrange your ROMs in the appropriate directories for each system. Here's an illustration of how to arrange things:
- ROMs
- NES
- <game file>
- SNES
- <game file>
- SEGA
- Master System
- <game file>
- Mega Drive
- <game file>
When using systems like the PS1 or Dreamcast with titles that require many discs, things become more difficult. The fundamental concept remains the same, but you must first confirm that the disc titles are formatted as either.m3u or.chd. Converting any required files with CHDMAN is the simplest method for accomplishing this.
To "avoid the individual discs appearing in the content list simply move them to a hidden subfolder," the muOS developers add. By adding a. or _ before the name, folders can be hidden. In light of this, the file format for multi-disc games looks like this.
- roms
- Sony Playstation
- .hidden
- <game discs here>
- GAME.m3u (folder)
- GAME (DISC 1).chd
- GAME (DISC 2).chd
Drag and drop your folders onto the microSD card, assuming your ROMs are arranged appropriately. Depending on the extent of your collection of vintage games, be ready to wait a while.
The good news is that adding BIOS files is not too difficult. To determine your required BIOS files, visit the Libretro Docs landing page. After that, drag & drop them into the folder below:
- SD1/MUOS/bios
Cheats, Configs, and Themes
Before you remove the microSD card from your computer, you might want to have a few additional things with muos, such as configuration files, themes, and cheats.
Cheats
Regarding cheats, you must obtain the libretto database from the Libretro GitHub. Extract the contents after downloading, then go to libretto-database> cht. Next, make a copy of every folder and transfer it to the following spot on your microSD card:
- muOS > retroarch > cheats
Note: Attempting to update the cores on your Anbernic device via the RetroArch app can result in issues when you try to play games.
Config Files
In his video, Zu highlights that Muos still has some weird issues. For instance, DraStic is "not an open-source app," which does not function as you might anticipate. Nevertheless, the creators created "some special configs" to allow us to continue playing DS games on muOS-powered devices.
The muOS developers are now working on a direct implementation of the patch. But in the interim, take these actions:
- Go to the muOS Discord channel.
- Navigate to the Issues channel under Discussions.
- Look up Drastic.
- Find the thread "DraStic keybinds got COMPLETELY F'd up…" and open it.
- Download the latest version of the config.zip file.
- Take out the stuff.
- On your muOS microSD card, drag and drop the supplied configuration files into the proper spot: MUOS > emulator > drastic > config.
- Choose Replace the files in the location when prompted.
Themes
Installing various themes is one of the many amazing features of muOS. The muOS Discord channel has a whole channel devoted to themes. You can browse the available alternatives and download the ones you want.
On the other hand, GitHub offers a whole theme repository for download. If you choose this method, download the most recent ZIP file from the Releases tag. Next, extract the folder's contents.
Make sure the theme stays as a .zip file, regardless of whether you downloaded the full muOS Theme Repository or just one theme. The ZIP file should then be moved to the ARCHIVE folder. And for now, that's it.
Use these procedures to install the downloaded theme:
- Activate your handheld device.
- Open Applications after it has finished booting up.
- On the list, pick Archive Manager.
- One of the themes you transferred should be highlighted and chosen.
- To install and extract it, click the A button.
- You should return to the main muOS interface after that.
- Next, choose Configuration.
- Theme Picker can be highlighted and selected.
- Select the theme you wish to utilize.
- Have fun!
Set Up Portmaster
It's fantastic to be able to simulate a number of old consoles on your old handhelds. However, you can also use PortMaster to play PC games on your portable device. The fact that muOS supports PortMaster, something not all custom firmware choices can offer, is only one of the many compelling reasons to switch.
Install PortMaster
Here's how to set up PortMaster on muOS if you want to see what all the commotion is about:
- Verify that your handheld device is linked to Wi-Fi.
- Open programs.
- Select PortMaster by highlighting it.
- Await the loading of PortMaster. If an update installation prompt appears, follow the instructions on the screen.
- Locate the port you wish to install by going through the various sections.
- To install it, click the A button after opening the Port listing.
- Turn off your mobile device.
- Put your computer's microSD card in.
You must move specific files to get the games to run unless you have installed one of the "Ready to Run" PortMaster games.
Put the Files in the Right Folders
Each game has different instructions for accomplishing this, so you'll need to consult the listing for the game you wish to play and the PortMaster website. Now that you have the required files follow this structure to determine where to put the PortMaster game files:
- ports
- <game>
- <game files>
- <roms>
- <ports>
- <file used to launch game>
Take the SD card from your computer and insert it into your portable device after transferring the files. After that, restart your handheld and take these actions:
- Navigate to the Explore section from the main screen.
- Select Ports by highlighting them.
- Find the PortMaster game you wish to play, then launch it.
If your files are installed correctly, the game should launch in a minute or two. But in some instances, like TMNT: Shredder's Revenge, the initial startup takes at least ten to fifteen minutes, if not more. Being patient is essential. If it takes over half an hour, switch off your handheld, restart it, and try again.
