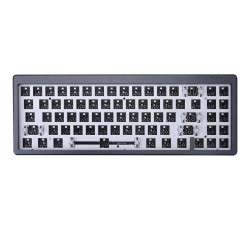
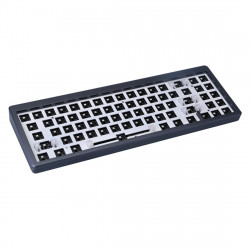
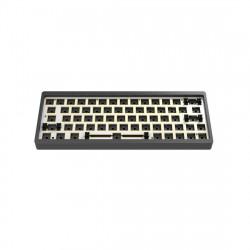
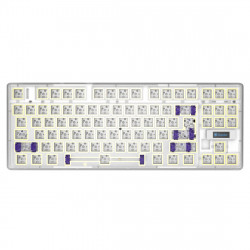
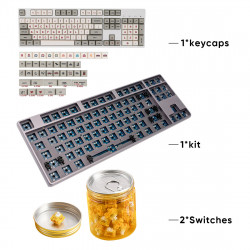
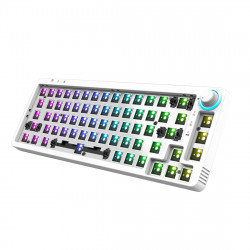
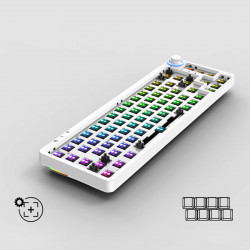
Custom Keyboard Kit
Embarking upon assembling a bespoke mechanical keyboard, you're likely seeking guidance. My journey through this intricate and occasionally bewildering hobby offers a beacon. This treatise isn't merely a trivial pursuit of obtaining a personalized instrument for a financial outlay. Together, we shall unravel the complexities of this task.
Initiating our exploration, a foundational comprehension of the keyboard's constituents is paramount:
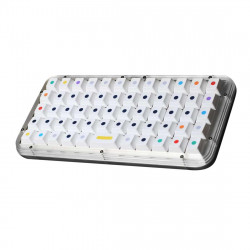
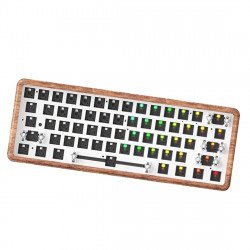
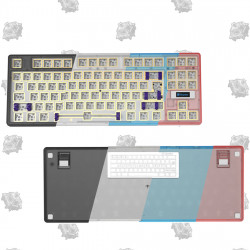
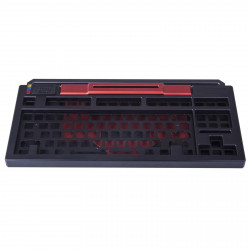
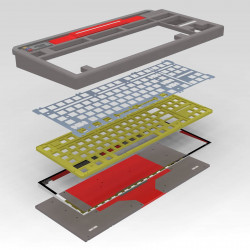
Keyboard Case: The chassis of the keyboard, this component is quite self-evident, sheltering the internal mechanics. Cases may be monolithic or segmented. This choice significantly influences the aesthetics and functional possibilities of your keyboard.
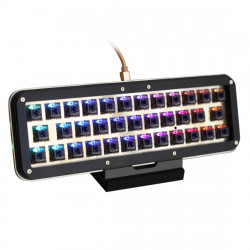
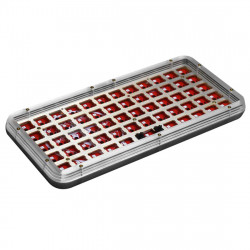
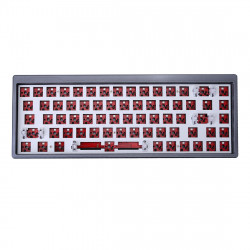
PCB (Printed Circuit Board): Consider this the cerebral center of the keyboard. Here, you will affix your switches and stabilizers. These PCBs are available in solderable or hot-swap versions, a detail we'll delve into.
Plate: This component plays a crucial role. The plate facilitates the anchoring of switches to the PCB. It ensures the switch housing securely locks in place, enabling subsequent soldering or hot-swap seating onto the PCB.
Stabilizers are imperative for reducing the oscillation of larger keys like shift, enter, and space bar. They are indispensable for a stable typing experience.
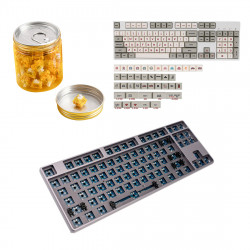
Switches: The heart of your keyboard's tactile experience. The plethora of available options offers a realm of exploration, which we will investigate further in the article.
Keycaps: Here lies the realm of artistic expression. Available across numerous platforms, these vary in profile, sets, and artisan designs. If your experience is predominantly with mainstream gaming keyboards, transitioning to Cherry profile keycaps might be a seamless shift.
Navigating the Realm of Keyboard Layouts:
Selecting the layout is a pivotal decision when creating your custom mechanical keyboard. Given the uncertainty about the desired size or arrangement, it can be daunting. Standard sizes familiar to most include 60%, TKL (tenkeyless), and Full, but the spectrum extends to 65%, 75%, and 1800 layouts. How does one make this choice?
Critical Factors in Layout Selection:
Desk space is a crucial consideration. Ample space allows for flexibility in choosing any size. However, confined spaces make a more compact layout, like 75%, more appealing.
Another consideration is the intended use. If your work necessitates specific keys, such as function or arrow keys, this will significantly influence your decision. For gaming, if you rely predominantly on keys like WASD, a 60% layout is optimal. This choice is deeply personal and warrants thoughtful reflection.
My Suggestion: For newcomers transitioning from standard full-size boards, starting with a TKL or 75% layout is advisable. The 65% layout, preserving arrow keys, is often favored by gamers and a broad user base.
Exploring Keyboard Mounting Styles:
With our layout determined, selecting a case becomes our next focus. Considerations include mounting style, which significantly affects the typing experience. I'll condense these varied styles into an easily digestible format.
Top Mount: Offers a firmer typing experience and a louder, metallic sound profile, reflecting the case's characteristics and the typing vibrations.
Gasket Mount: Comes in various forms, isolating the plate/PCB assembly to minimize case feedback and vibrations. The typing feel ranges from stiff to very soft.
Gummy O-Ring Mount: Known as "Friction Fit," this style uses a large o-ring, requiring no screws, and generally provides a softer, higher-pitched typing experience.
Sandwich Mount: Less common; it sandwiches the plate between the case halves, resulting in a stiffer feel and metallic sound.
Integrated Plate Mount: The plate is part of the top case, offering a very stiff experience with a potentially muddy or metallic sound.
Tray Mount: Common in budget keyboards or cases, offering a stiff typing experience with a variable sound profile. These are enjoyable to modify.
Diving into Keyboard PCBs:
Having narrowed our case options, let's discuss the PCB, which typically comes with your keyboard kit or may require a universal PCB. Some PCBs feature relief or flex cuts for a softer typing feel, though this can thin the sound profile. Others might need a daughterboard, depending on the case. The main types include hot-swap and solderable.
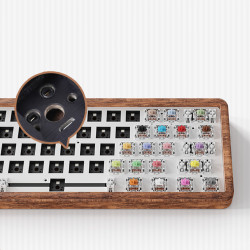
Hot-swap PCBs: Ideal for those undecided on switches or planning multiple rebuilds. They are beginner-friendly and avoid soldering, though care is needed when inserting switches.
Solderable PCBs: Allow for various layouts and offer the joy of soldering. However, desoldering is required for changes or mistakes, which can be tedious and costly.
My Recommendation: Start with a hot-swap PCB for its simplicity and flexibility.
Selecting Keyboard Plates:
Choosing a plate is crucial as it affects the keyboard's stiffness, sound, and layout. Standard kits have a compatible plate, but separate sourcing requires careful matching with your keyboard.
Materials vary, with aluminum or FR4 plates offering a balanced experience. Brass plates are stiffer, while plastic plates like POM or polycarbonate are softer, influencing the sound profile.
I opt for aluminum or FR4 plates for a well-rounded typing experience and sound.
Understanding Keyboard Stabilizers:
Stabilizers are key for larger keys like the spacebar. Ensuring the correct size and quantity for your layout is essential. Every stabilizer can be fine-tuned to achieve a desirable sound and feel.
My Advice: For beginners, Durock stabilizers are a good choice. They can be adjusted even after assembly, easing the tuning process.
Demystifying Keyboard Switches:
Switches can be perplexing, with many varieties, materials, and features. Simplifying this switches fall into linear, tactile, and clicky categories. Linears are smooth and tactile and have a noticeable bump, and clicking offers both a bump and a sound.
Choosing a switch is subjective and often overthought. While there's no definitive guide for personal preference, exploring different switches can be enlightening.
In crafting your custom keyboard, these guidelines should assist in navigating the intricate decisions involved, tailoring your creation to your specific needs and preferences.
Keycaps: The Pinnacle of Custom Keyboard Design:
The selection of keycaps marks a delightful culmination in your custom keyboard journey. A diverse array of profiles, from lofty SA keycaps to the prevalent Cherry profile, each contributing its unique sound characteristics. Keycaps are primarily crafted from two materials: ABS, known for its quicker shine but brighter sound, and PBT, offering a contrasting, deeper tone.
Choosing Compatible Keycaps:
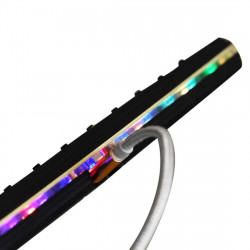
Ensure the keycaps you select are congruent with your keyboard's layout and, if applicable, its RGB lighting direction. For instance, due to potential interference, Cherry profile keycaps may not be suitable for north-facing LED keyboards.
Where to Acquire Keyboard Components:
Today, sourcing keyboard parts is straightforward, with many vendors offering ready-to-ship items. Consider using a community-endorsed vendor list and a checklist for your build, including items like the case, PCB, stabilizers, switches, keycaps, lubricants, tools, and more.
Group Buys and In-Stock Sales:
Group buys are akin to crowd-funded initiatives, offering discounts but with longer wait times and some buyer risk. In contrast, in-stock sales provide immediate availability of products from vendors like Kinetic Labs.
Constructing Your Mechanical Keyboard:
Let's outline the steps for assembling your keyboard:
- Testing the PCB:
- Preparation: Tweezers and a cable for the PCB.
- Process: Use a program like VIA to check each switch with tweezers, ensuring they register.
- Lubing and Installing Stabilizers:
- Preparation: Stabilizers, PCB, brush, lube, screwdriver set.
- Process: Install Lube stabilizers based on your layout and test with switches.
- Installing Switches:
- Preparation: Switches, PCB, plate, soldering iron (if required).
- Process: Place the plate, insert switches (supporting sockets for hot-swap), and solder if necessary.
- Preparing the Case:
- Preparation: Keyboard kit, screwdriver kit, and any additional components like gaskets.
- Process: Install gaskets, daughter board, and foam as needed, then insert the PCB/plate assembly and secure it.
- Using Your Keyboard:
- Preparation: Installed switches and keycaps.
- Process: The final and most enjoyable step is to affix your keycaps to the keyboard.
Tuning Your Keyboard's Sound:
Sound customization is an integral part of the keyboard-building process. Here are some tips for common issues:
- Hollow Sound: Use lightweight PolyFil or poron foam to reduce resonance without altering the overall sound profile.
- Quiet Keyboard: Experiment with different keycaps or switches. Masking tape on the PCB underside can amplify sound.
- Rattling Stabilizers: Apply additional lube with a syringe to the stabilizers, even without disassembling the board.
Final Thoughts:
Remember, personal taste varies significantly in the keyboard world. While it's an exciting and ever-evolving hobby, balancing passion with financial prudence is crucial. Enjoy your journey in this captivating and creative domain!
