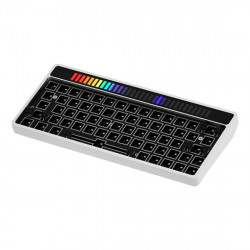
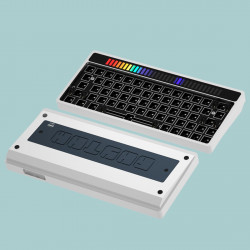
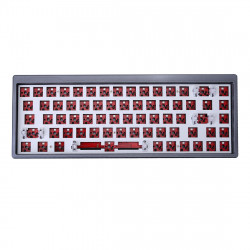
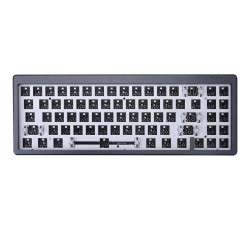
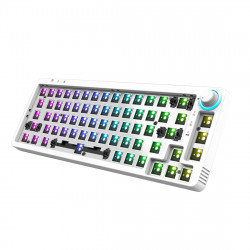
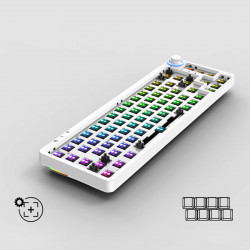
Keyboard Kit
The Ultimate Guide to Choosing Your Mechanical Keyboard DIY Kit
For those new to mechanical keyboards, selecting the fitting DIY kit can seem like a maze of choices. This guide aims to simplify the process, breaking down the key components and considerations to help you make an informed decision for your perfect keyboard build.
Understanding the Parts
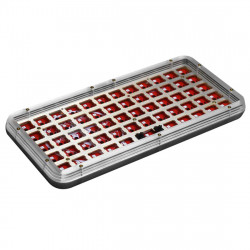
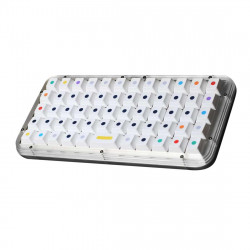
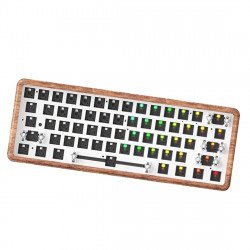
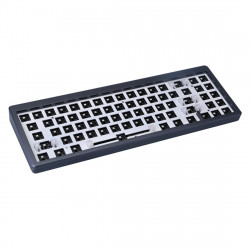
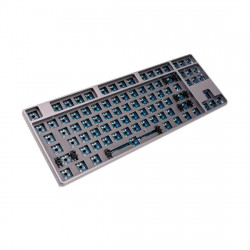
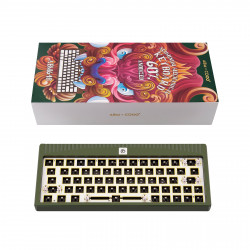
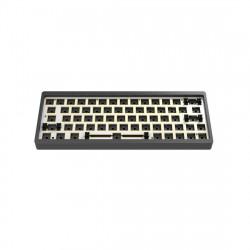
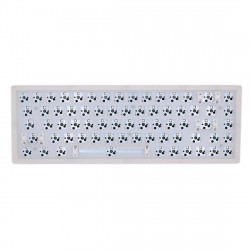
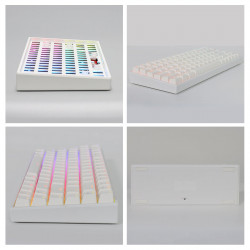
- Case: The case houses all the keyboard components. Options range from clear to metal cases, each offering a unique aesthetic.
- PCB (Printed Circuit Board): The PCB is crucial as it connects all the switches to your computer. Quality is essential here, and any kit from a reputable store should be up to standard.
- Plate: This is where the switches are mounted. The ideal plate offers some flex for a better typing experience. While aluminum is standard, brass can mute the sound, and polycarbonate can enhance deeper tones.
Size Matters
The size of your keyboard is a significant factor:
- Full-Size / 100%: Common in non-mechanical keyboards. It offers full functionality but takes up more desk space.
- Tenkeyless / 80%: Omits the numpad—a popular choice for a more compact design.
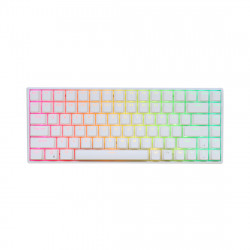
- 75%: Similar to tenkeyless but with a tighter key layout, including the function row.
- 65%: Removes function keys but retains arrow keys.
- 60%: Prevalent in the enthusiast community. Lacks arrow keys and function row, relying on modifier keys for additional functions. More affordable and compact.
- Number pad / 20%: Essentially a standalone numpad.
Features to Consider
- Ergonomic Layouts: Some kits offer layouts designed for comfort.
- Pass-throughs: Useful for connecting other devices directly through the keyboard.
- Media Controls: Features like dedicated volume knobs can enhance user experience.
Hot-Swappability
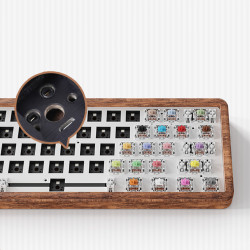
A hot-swappable board allows you to change switches without soldering, which is ideal for those who want to experiment with different switch types without the need for soldering equipment.
Pricing
DIY kits vary in price. Expect to pay more for unique designs, ergonomic features, and metal cases. Prices generally start around $100, potentially increasing based on features and materials.
Summary
Choosing the fitting DIY kit is crucial for your keyboard project. Focus on the size and features that best suit your needs. With the proper selection, you can enjoy building a keyboard that's uniquely yours.
Explore a range of DIY Kits and start designing your custom keyboard with our free build creator.
